You’ve seen the cheap, flimsy plastic versions at the party store that fall apart before the turkey’s even out of the oven. Those mass-produced accessories don't just look tacky; they strip away the actual tactile joy of creating something with your own hands. If you're wondering How To Make A Pilgrim Hat that actually looks decent and survives a rowdy Thanksgiving dinner, you've come to the right place. We're going to skip the glitter glue and focus on construction techniques that provide structure and style. It doesn't matter if you're a parent helping with a school project or a history buff prepping for a reenactment. The goal is the same: a clean, iconic silhouette that stands tall.
The Cultural Significance of the Capotain
Before we get our hands dirty with construction paper or felt, we should address what this headgear actually is. Most people call it a pilgrim hat, but its historical name is the capotain. This wasn't some uniform designed specifically for the Mayflower passengers. It was a high-fashion item in England and Europe during the late 16th and early 17th centuries.
A Myth of Buckles
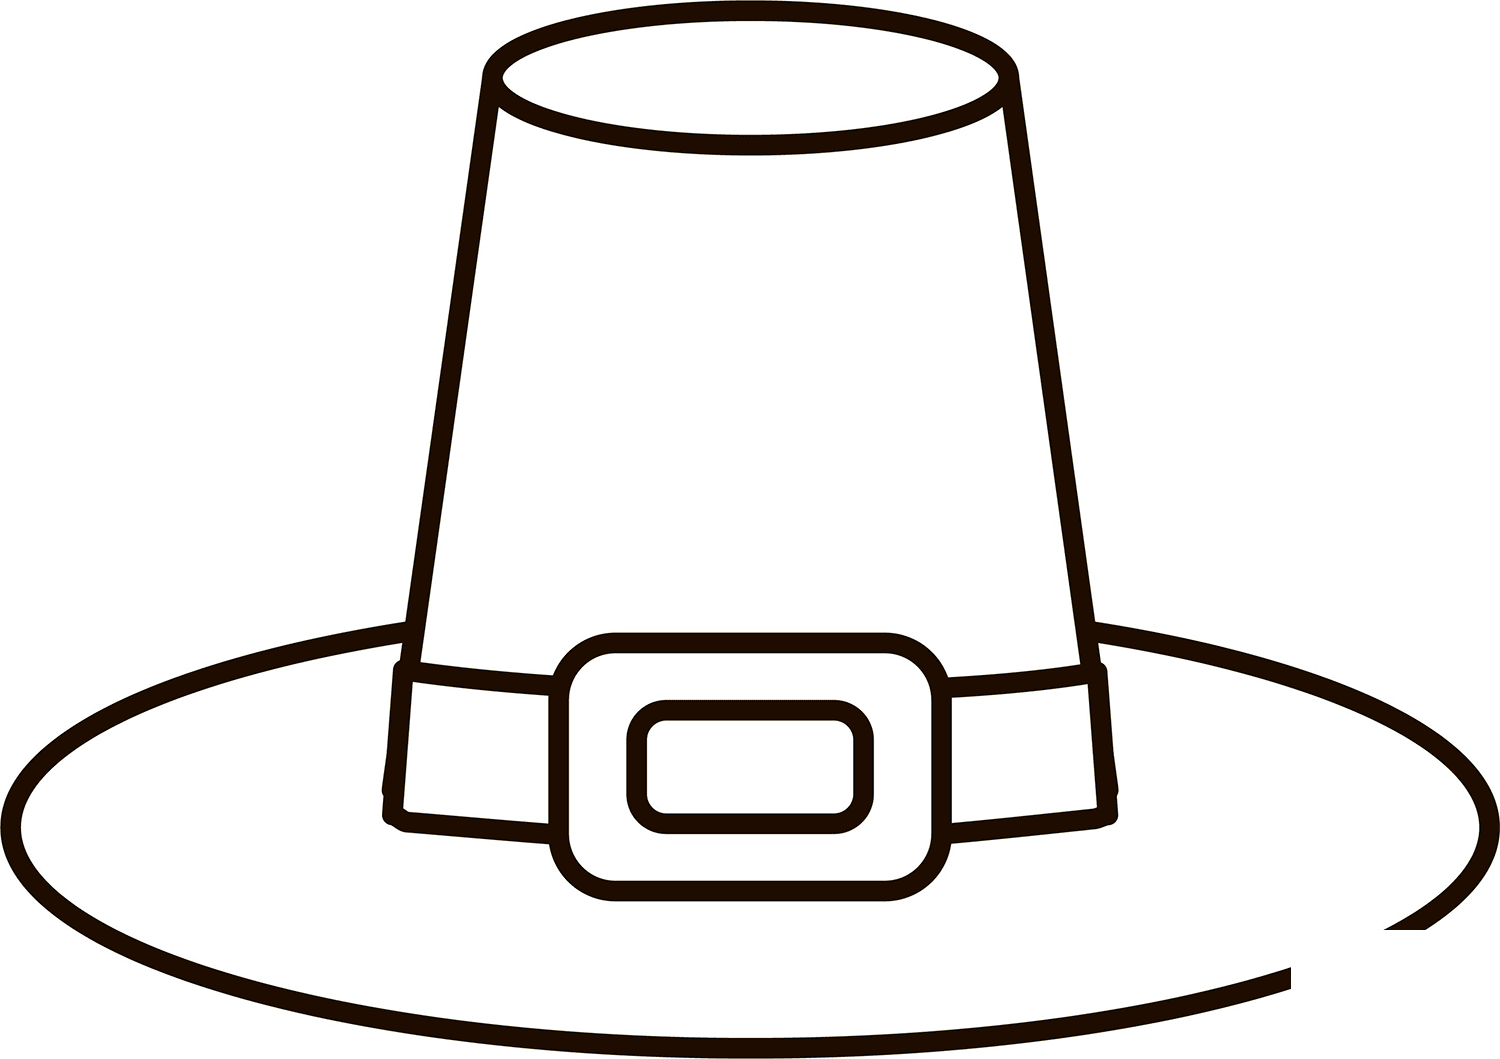
Here's a reality check: the massive silver buckle you see in every cartoon is mostly a myth. While buckles existed, they were expensive. Most settlers used simple leather bands or silk ribbons to secure the crown. The "buckled pilgrim" image became popular in the 19th century when artists wanted to make the settlers look more dignified and "official" for holiday paintings. If you want historical accuracy, go for a plain black band. If you want the classic holiday look, the buckle stays.
Material Realities
The original versions were made of stiffened felt, often beaver fur. That’s why they held that sharp, tapered shape so well. Felt is naturally water-resistant and durable. When we recreate this today using poster board or crafting felt, we're trying to mimic that rigidity. If your material is too floppy, the whole aesthetic collapses. Think of this as an exercise in structural engineering as much as it is a craft project.
How To Make A Pilgrim Hat Using Heavy Weight Cardstock
This is the most common method because it's cheap and provides the cleanest lines. You'll need black poster board, a ruler, a compass (or a large bowl), and some serious adhesive. Don't rely on a standard glue stick. It'll fail you. Get a hot glue gun or high-strength double-sided tape.
- Measure the Head Circumference: Start by measuring the person's head where the hat will sit. Add an inch to this measurement for the overlap. Let's say the head is 22 inches; your strip of paper should be 23 inches long.
- Cut the Crown: Decide how tall you want it. Six to eight inches is the sweet spot. Cut a long rectangle of black poster board using your length and height measurements.
- The Tapering Trick: To get that iconic "slanted" look, don't just roll the paper into a cylinder. You need to cut the top edge of your rectangle slightly shorter than the bottom edge. When you join the ends, it creates a frustum—a cone with the top cut off.
- Creating the Top Circle: Trace the top opening of your tapered crown onto another piece of poster board. Add a half-inch "seam allowance" all the way around. Cut tabs into this extra half-inch so you can fold them down and glue them inside the crown.
- Building the Brim: This is where most people mess up. You need a large circle. Trace a dinner plate for the outer edge. For the inner edge, trace the bottom of your crown. Cut out the middle.
- Final Assembly: Slide the brim over the crown. Use those same "tab" techniques to secure the brim to the base of the crown. This prevents the hat from sliding down over the wearer's eyes.
Choosing Your Paper
Not all black paper is created equal. If you buy the thin stuff from the dollar store, your hat will wilt like a sad flower. Look for "65lb cover" or higher. Better yet, use foam core for the brim if you want it to be indestructible. A sturdy base allows the hat to keep its shape even if it gets bumped during a busy dinner service.
Dealing with Adhesives
Hot glue is the king of quick crafts, but it leaves "spider webs" everywhere. If you're going for a professional look, use a professional contact cement or heavy-duty craft tape. It stays flat and doesn't create those weird lumps under the paper. Just remember that once it touches, it's stuck. There are no do-overs with high-tack tape.
Selecting the Right Fabric for Felt Versions
If paper feels too "elementary school" for you, move up to felt. Felt provides a texture that looks much closer to the 17th-century originals. It’s also way more comfortable to wear for an extended period. You can find high-quality wool felt at specialized textile shops or the Smithsonian's historical resources often show the texture of period-accurate clothing.
Stiffening the Fabric
Felt from the craft aisle is usually too soft to stand up on its own. You'll need a stiffening agent. You can buy commercial fabric stiffener spray, or you can go old-school with a heavy starch solution. Soak your felt pieces, shape them over a mold (like a small bucket or a coffee tin), and let them dry completely. Once dry, the felt will behave more like leather or wood than fabric.
Sewing vs. Gluing
If you can sew, do it. A blanket stitch around the brim adds a hand-crafted detail that screams quality. If you can't sew, "fabric glue" is your best friend. Just be aware that fabric glue needs a long time to cure. Don't try to wear the hat ten minutes after making it. Give it a full 24 hours.
Decorating Your Creation
This is where you decide the "vibe" of your project. Are we going for "Mayflower Realism" or "Thanksgiving Parade"? Your choice of band and buckle tells the story.
The Band
A simple black grosgrain ribbon is the classiest choice. It has a ribbed texture that catches the light without being shiny. If you want something more rustic, use a strip of brown faux leather or even a piece of twine. Secure the band at the base of the crown where it meets the brim. This hides any messy glue lines or tabs from your construction phase.
The Buckle
If you insist on a buckle, don't just cut a square out of yellow paper. That looks cheap. Use gold or silver metallic cardstock. For a 3D effect, cut two squares—one slightly larger than the other—and glue them together with a small spacer in between. This gives the buckle some depth and makes it look like a functional piece of hardware rather than a flat sticker.
Common Pitfalls and How to Avoid Them
I've made dozens of these over the years for various events, and I've seen every mistake in the book. The most common error is making the brim too narrow. A small brim makes the hat look like a top hat, not a capotain. You want that brim to be at least three inches wide all the way around.
The "Floppy Brim" Syndrome
If your brim is sagging, it's usually because the inner hole is too large. It shouldn't just "sit" on the crown; it should be integrated into it. If you're using paper, glue a second layer of cardstock to the underside of the brim. Doubling the thickness increases the rigidity exponentially. It's a simple physics trick that saves a lot of heartache.
Sizing Issues
Nothing is worse than finishing a masterpiece only to find out it doesn't fit the intended head. Always measure twice. If you're making these for a group of children, build them with an "adjustable" back. Instead of a solid cylinder for the crown, leave the back seam open and use a piece of elastic or a Velcro strip. This makes the hats "one size fits most" and prevents tears when a hat is too tight.
Making it a Tradition
In our house, we don't just pull decorations out of a box. We make them. There's something special about the smell of craft glue and the sound of scissors cutting through heavy paper that signals the start of the holiday season. When you learn How To Make A Pilgrim Hat, you're not just making a costume piece. You're creating a centerpiece for a conversation about history, craftsmanship, and the effort we put into celebrating with our families.
Involving the Kids
If you're working with little ones, give them the "low stakes" jobs. Let them choose the ribbon color or help trace the circles. Avoid giving them the hot glue gun unless they're old enough to handle the heat. You can also let them "weather" the paper. Taking a brown crayon and lightly rubbing it over the edges of the black paper can give it an aged, parchment-like look that kids find fascinating.
Storage Tips
Paper hats are notorious for getting crushed in storage. Don't just throw them in a plastic bin. Stuff the crown with tissue paper or a plastic grocery bag to help it keep its shape. Store them upside down on their crowns to keep the weight off the brim. If you take care of them, a well-made cardstock hat can last for three or four years.
The History of Thanksgiving Headwear
While we focus on the English settlers, it's vital to remember that the "First Thanksgiving" was a cross-cultural event. The Wampanoag people didn't wear capotains; they had their own distinct styles of dress and adornment. When teaching children about these crafts, it's a great opportunity to look at the Plimoth Patuxet Museums website to see what the actual clothing of the era looked like for both groups. Realism beats caricature every time.
Why the Silhouette Endures
The shape of the capotain is one of the most recognizable silhouettes in American history. It's strange, really. The style went out of fashion in Europe by the 1650s, replaced by the cavalier hat with its feathers and wide, floppy brims. But because the settlers were pictured in these tall, stiff hats during their most iconic moments, the image stuck. We keep making them because they represent a specific moment of grit and survival.
Beyond the Basic Black Hat
Once you've mastered the standard version, you can get creative. Who says a pilgrim hat has to be black? For a modern tablescape, I've seen people make these out of white cardstock with gold bands or even patterned scrapbooking paper.
- The Minimalist Version: Use slate grey paper with a simple charcoal ribbon. It looks sophisticated and fits in with a more "farmhouse" aesthetic.
- The Table Name Card: Make miniature versions of the hats (about three inches tall) and write guests' names on the brim. It’s a functional piece of decor that people can take home.
- The Centerpiece: Create one giant hat (maybe 15 inches tall) and use it as a vessel for dried corn stalks and autumn leaves. It’s a bold statement piece that costs almost nothing to make.
Tools of the Trade
Don't underestimate the power of a good pair of scissors. If your blades are dull, you'll get jagged edges that make the paper look chewed. I highly recommend using a craft knife and a self-healing cutting mat for the inner circles of the brim. It gives you a level of precision that scissors just can't match.
Why Weight Matters
I mentioned paper weight earlier, but it’s the single most important factor in your success. If you're shopping online, look for "GSM" (grams per square meter). You want at least 200 GSM for the crown and ideally 300 GSM for the brim. This ensures the hat stands tall under its own weight without buckling. If you can't find heavy paper, laminating two thinner sheets together with spray adhesive works in a pinch. It’s a bit more labor-intensive but results in a very stiff, professional-grade material.
The Final Touchpoints
Before you call the project finished, do a "shake test." Pick the hat up and give it a gentle wiggle. Does the brim wobble? Does the crown feel loose? If so, add some reinforcement. A few extra dots of glue inside the seam can mean the difference between a hat that lasts through dinner and one that ends up in the trash before the appetizers are finished.
Avoiding the "Costume" Look
If you want the hat to look like a real piece of clothing rather than a costume, focus on the finish. Matte paper is always better than glossy. Glossy paper looks like plastic under dining room lights. If your paper is too shiny, you can hit it with a light coat of matte clear spray paint to dull the finish. It’s a small step that makes a huge difference in the final aesthetic.
Historical Variations
While the tall crown is the most famous, some capotains were shorter and more rounded. If you're making a hat for someone with a smaller face, a shorter crown might be more flattering. Don't feel boxed in by the "standard" measurements. Adjust the proportions until it looks right to your eye. Art isn't about following a recipe perfectly; it's about the final result feeling balanced.
Next Steps for Your Crafting Project
Don't just read about it. Get your supplies ready today so you aren't rushing on the morning of the holiday.
- Audit your supplies: Check if your hot glue gun actually has glue sticks. There's nothing worse than starting a project and realizing you're out of adhesive.
- Do a test fit: Cut a simple strip of paper and wrap it around the head of whoever is wearing the hat. Mark the overlap so you know exactly how long to cut your "real" material.
- Clear a workspace: You need a flat, clean surface to work on. Any crumbs or dirt on your table will show up on black paper instantly.
- Start with the brim: It's the hardest part to cut. Get it out of the way first. If you mess it up, you haven't wasted the time spent on the crown yet.
- Apply the band last: The band is your "eraser." Use it to cover any imperfections where the crown and brim meet. It’s the final polish that pulls the whole look together.